Solar LED building Lighting

Hot tip about lighting up your buildings.

8-05-06

About 2 years ago I had an unlit church way up on the hill. I was not thrilled about running wires up to it for lights. I had a set of solar powered lights like they sell at all Home improvement centers. I decided to look inside and see what was in it. I found 2 batteries in a holder, a solar cell and a little circuit board with a yellow LED stuck on it. I added some wire to the solar cell and put it in the church.

Now I have done this to 9 of my buildings. I bought a 10 light set for $60. I did not use all those plastic parts so they went to recycle.

This is a different brand than the one shown above. I can't remember which model it was. It had been outside a few years.

I thought it would be cheaper to just buy the parts but by the time you are done you have spent $12 and you still do not have the little control circuit board.

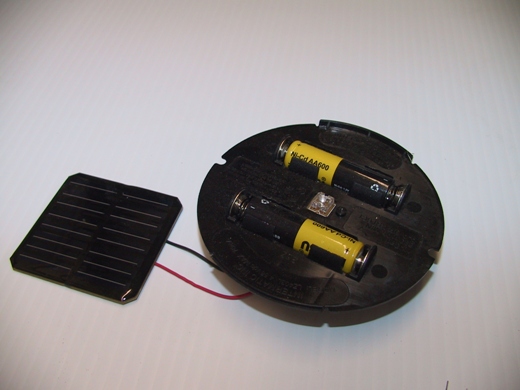
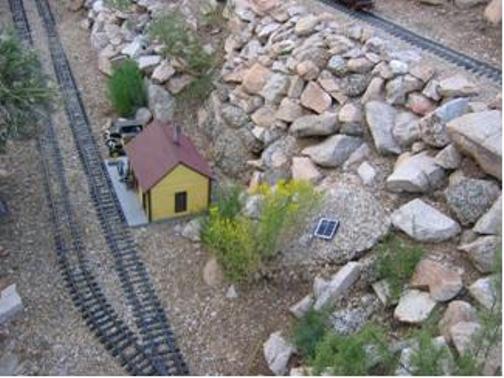
Most of the sets I used as is. I did have to move the solar cell.

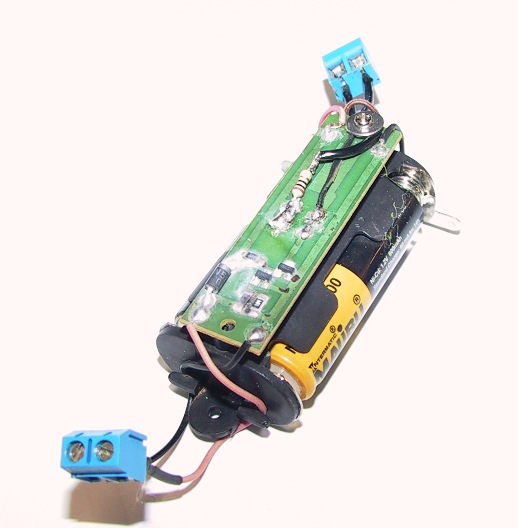
On some light brands I threw a lot of plastic in my recycle bag. I trimmed the plastic part that held the batteries and circuit board so it would fit in small buildings with room to spare.

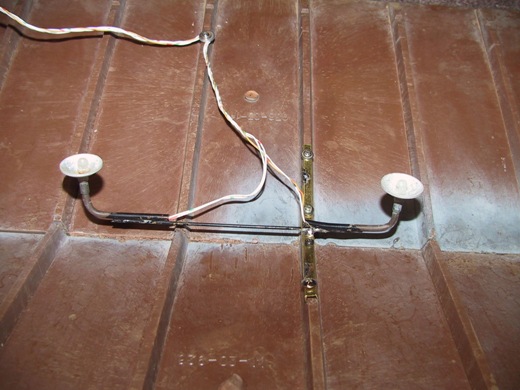
I cut the red and black wire going to the solar cell and added about 3 feet of small (26 gauge) brown wire I scrounged from something. I made sure I had the polarity correct, red to red and black to black. I put some contact cement on the wires and solar cell to keep them from pulling off.

On later conversions, like this one, I added little connectors (Radio Shack 276-1388) for the wires. This made it easy to hide the wires.

I did add and change some LEDs. I added (Radio Shack 276-350) to some but it is a bit complex and involved getting out the soldering iron. If you use 2 they do run down a little quicker and by midnight they get a pretty dim. I added a 10 ohm to 22 ohm resistor to dim a few down. they will light longer with a resistor.
LED close up. The long lead is positive. If you cut the leads off just remember the small metal side at bottom is positive. The larger disk side is negative. I flattened the end with sand paper or a file to change the light from a spot to a flood. You can run a little scotch bright or 220 grit sand paper to frost them up. If you can't tell just try it. If it lights up you are right. If it does not switch the wires. Don't forget to cover the solar cell so it thinks it is night. Make sure the batteries are charged.
I hid the solar cell up the hill bit and tossed the batteries and LED in the building. I waited for it to get dark. Now every night the lights come on and I don’t have to do a thing, but enjoy. It is so nice to have the town lights on every night. No wires, no transformer, no bulbs to burn out, no timers and no switches.

What a great 15 minute project that works every time. Make sure you get the Amber or Yellow lights. The white are a bit to intense.

The little blue square in the picture is the solar cell.